Wednesday, June 22, 2011

FLOORING, GIRDERS and BULKHEADS

This is a later photo of the prob being installed through the bow and collision bulkhead, made of prelaminated 8mm  foam and gives structural integrity to the bow. The tube goes through the nose cone and holds the self furling prod connecting the jib. A neat tool called the" baked bean stick", ( a strip of perspex with an edge of teeth), marked onto the mdf bulkhead pattern as you would with a scribe making offsets, giving you the outline to mark onto cardboard. Atleast it gives you a good pattern to work with.


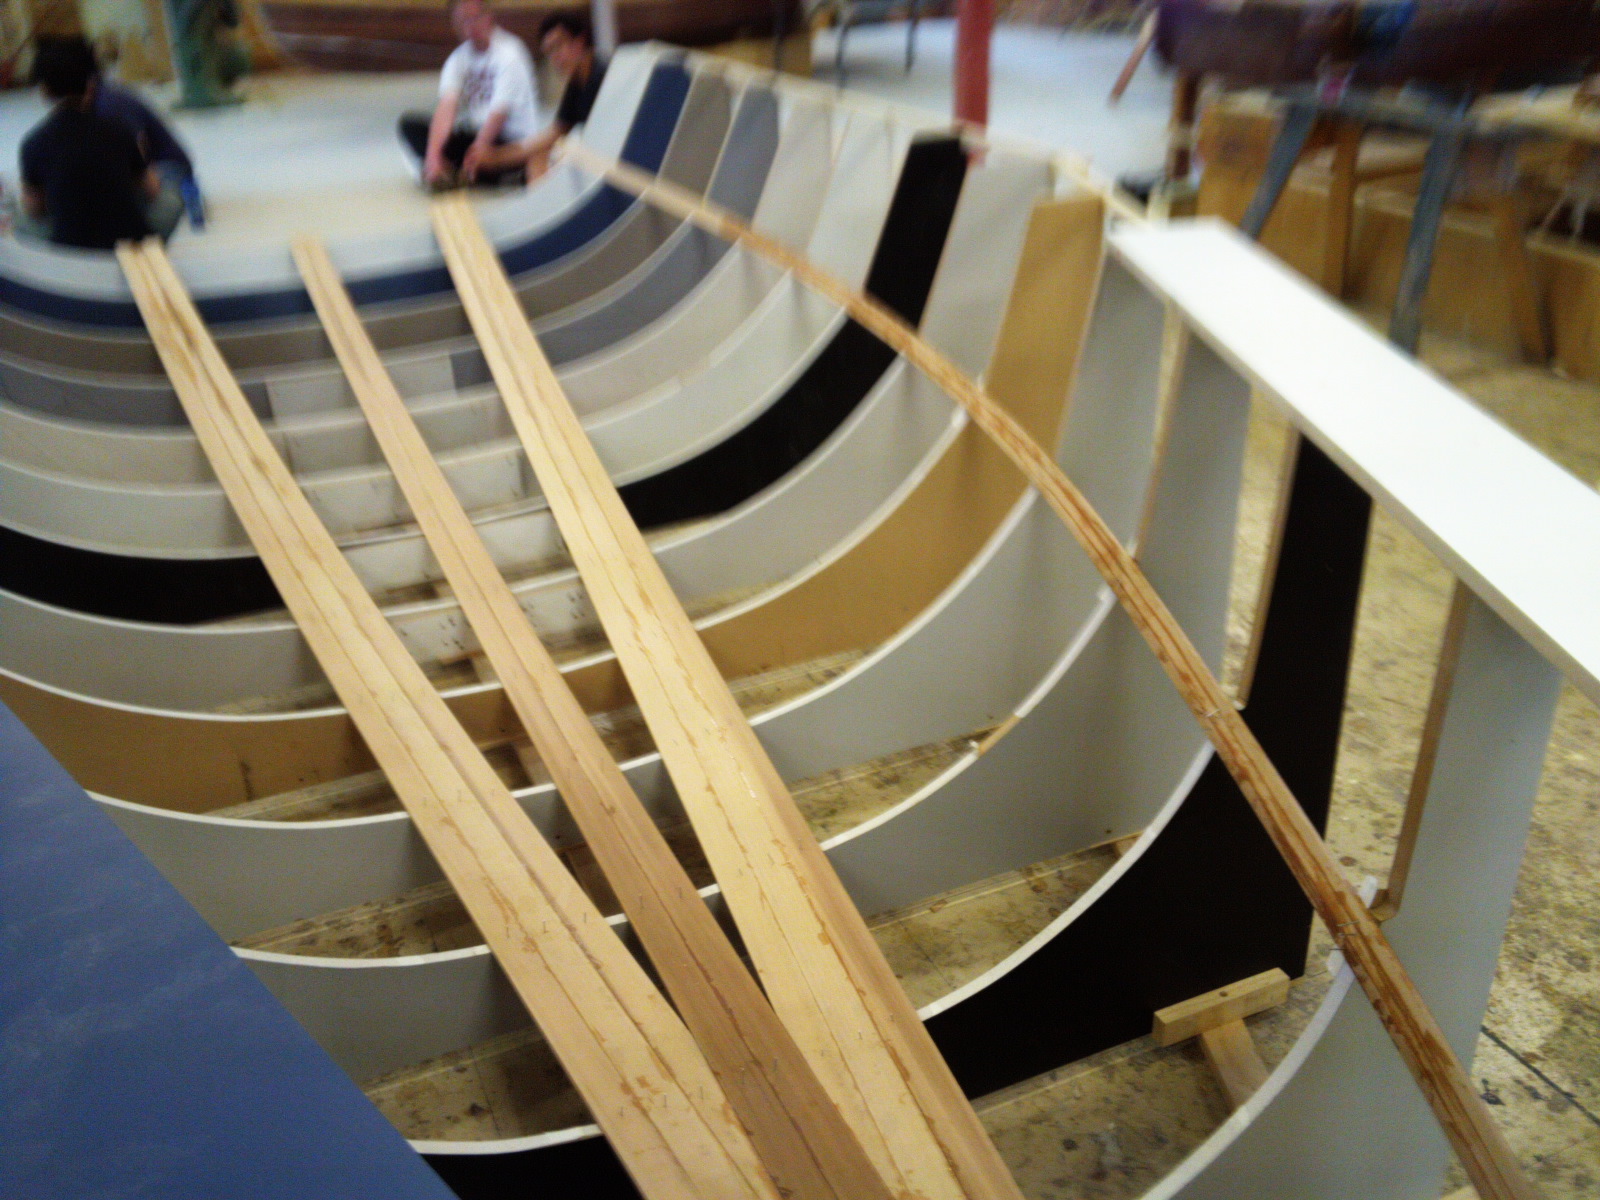
 Once the collision bulkhead was in place the foam flooring was glued in. Four Strips of 8mm foam hot glued on one another and rounded edges run along the hull athwart-ship and one fore and aft making contact with the bulkheads. The forces of waves smashing into the boat acts like a shock wave through the hull and gets absorbed.

Vacuum bagging the flooring: first the uni-directional carbon fibre is wetted and brushed onto the flooring, then 240gm EDB fibreglass is wet through covering the flooring with 20-30mm either side on the hull. The peel ply has been cut back to allow for this. Peel-ply brushed on the glass all over ensuring no air is between the coving and fibre matt.
Perforated plastic lays ontop of that.
The green stuff is simple shade cloth like from the hardware strore which helps soak up excess resin and allows the air to suck evenly throughout. The plastic sheet is carefully attached to the "vac tape",( bitumen rubber tape) with little "darts" where nececssary to allow for the bag to suck perfectly onto the floor.
You can see the flooring in this picture and the carbon tape is obvious. The cardboard is because we're messy pricks : ) and need a bib when doing messy jobs like making a flange around the topsides. Two strips of 50mm 400EDB tape halved down the middle and glued inside this MDF rim with pee-lply on it. Somehow we did it without any airpockets in the resin.. got pretty dizzy doing this upside down though. Since we are unable to get inside the boat and reach any further than station 11 to cove the deck to the topsides we loaded a 50mm flange with glue which made a good contact between the topsides and deck.


The Girder running fore and aft contacting the centre-case and transom gives stiffness to the cockpit sole and supports human body weight. The Bulkhead running athwart-ship is also load bearing and both structures lofted from AutoCAD and prelaminated before putting in situation.
There's another flange meeting the topside. Looks a bit messy but the rough bits will be chopped off. There's a carbon fibre tube to be coved in the join of these two flanges.

Wednesday, June 1, 2011

Strip Planking and Hull construction

 The first few planks of 8mm red cedar nailed in situation along the chine and down the centre.


 Station 0
This is where the strips converge to a point making the bow.
 You can see here how the planks were ripped into thirds at the ends so they would contort to the shape of the bow. They had to fit into the hollow in station 0.
 Working from the centre out, beveling the ends shaping the strips to a point.
 Here's me sanding the excess glue off with a pneumatic sander..
 Using tape here and an extra frame between station 0 and 1 to help hold the bow together whilst glueing.

Chris Owen from the USA learning the real way to make boats.. good on ya Chris.
 There's me sitting on my brain, filling the nail holes with a mix of west epoxy with 403 microfibre thixotrope.

 Rolling on first layer of WEST (wood epoxy saturation technique) systems epoxy to "wet it".
 The nose of the bow constructed from strips of foam in a simple female mould
 Hull requires denibbing here before it can be glassed.

 Fibre glassing over the topsides with 240gm BD (double bias) fibre glass. We marked on the floor where each drop should lie starting at the centre-line.
 The roller is a good tool to apply the resin and then use the spatula spread and thin the resin through the glass as much as possible working out the bubbles and airpockets which get caught in the corners as the fibreglass gets laid down. Skilled hands can easily wet the glass through without creating more bubbles.
An overlap of no more than 50mm or less than 40mm required all over the yatch when glassing. This helps minimize weight, extra work sanding, and materials, which equates to cost and weight. And above all it's simply good practice.

Foam cone for the bow made first in a female mold and glued in for added resistance to small dings.

Rob Shaw 5.5m

The Rob Shaw 5.5 metre racing yatch is designed for a crew of 1-4 people, ideally 3 people for a racing crew.  The shallow hull desgined to glide through the water almost like a surfboard, with a self righting hull made to correct simply when sailing in strong winds. Twin rudders allow for greater control and the Sail rig capable for a single person to setup and sail. It has a plumb bow and 2.4metre beam. Strip-planked 8mm thick western red cedar and foam for the topside and deck make the Rob Shaw 5.5 very lightweight, responsive and enjoable to sail.