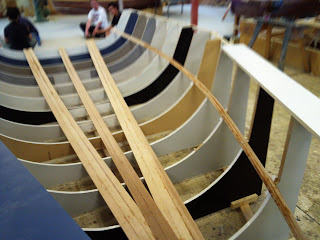
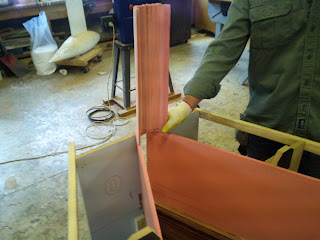
The first few planks of 8mm red cedar nailed in situation along the chine and down the centre.
Station 0
This is where the strips converge to a point making the bow.
You can see here how the planks were ripped into thirds at the ends so they would contort to the shape of the bow. They had to fit into the hollow in station 0.
Working from the centre out, beveling the ends shaping the strips to a point.
Here's me sanding the excess glue off with a pneumatic sander..
Using tape here and an extra frame between station 0 and 1 to help hold the bow together whilst glueing.
Chris Owen from the USA learning the real way to make boats.. good on ya Chris.
There's me sitting on my brain, filling the nail holes with a mix of west epoxy with 403 microfibre thixotrope.
Rolling on first layer of WEST (wood epoxy saturation technique) systems epoxy to "wet it".
The nose of the bow constructed from strips of foam in a simple female mould
Hull requires denibbing here before it can be glassed.
Fibre glassing over the topsides with 240gm BD (double bias) fibre glass. We marked on the floor where each drop should lie starting at the centre-line.
The roller is a good tool to apply the resin and then use the spatula spread and thin the resin through the glass as much as possible working out the bubbles and airpockets which get caught in the corners as the fibreglass gets laid down. Skilled hands can easily wet the glass through without creating more bubbles.
An overlap of no more than 50mm or less than 40mm required all over the yatch when glassing. This helps minimize weight, extra work sanding, and materials, which equates to cost and weight. And above all it's simply good practice.
Foam cone for the bow made first in a female mold and glued in for added resistance to small dings.


A good overview of the hulls strip planking and internal skin. The first layer of resin is to seal the wood. watch the spelling of yacht.
ReplyDeletegood detail on the laps