Friday, July 8, 2011

Splash

The "Splash" which holds the yacht to the boat trailer fits the contours of the Hull exactly, making the boat a stable and secure load. It was made with chopped strand fibre-glass, marine plywood and foam. Polyester resin was used here since it's cheaper, however it does give off plenty of fumes and an organic vapour respirator is essential.
Chop strand matt

The stack for Splash
 Core matt, chop strand and foam sittting on the hull separated by plastic sheet


Thursday, July 7, 2011

GLASSING THE HULL

Good glassing technique ensures a F.G. job is done well as I'll explain...
Chris L. explained clearly the importance of working an 80% stroke with the roller from the centre of the boat outwards towards the edges. The other 20% of area will be the perimeter or edges to be glassed requiring a little more care in wetting with resin. In the picture below we can see how at first and 80% stroke was used then haphazardly more of a 120% stroke. Some people need to be reminded what working 80% means so we don't pick up bad habits.
Chris pointing out a holiday where resin missed.
We had turns rolling on the resin to get a feel for it, leaving 300mm at the bow where it required filling and fairing. The tip of the bow needed to be cat off and rounded then this area could also be glassed.


Here is an example of the hull being glassed with EDB400 fibre-glass cloth, working from the centre outwards. The centre-case was sealed with cardboard and vactape so resin didn't creep in. The F.G. was cut out once cured. This F.G.process did not require post curing. The F.G. was cut 40mm proud of the deckline and wet on underneath by brush lying on our back. This is also where the bag was sealed to, it was a job well done I'm glad to say.

Please see this video Chris Owen took, it shows well the process involved. http://youtu.be/k6uffxJUQx4


CHAIN PLATE

The chain plate was cut from the same piece as that for the rudder mount. The rebate cut with router and excess foam trimmed away by chisel from the F.G. behind. 


I noticed when Chris was fastening these two pieces of wood to the foam that a better way of applying pressure would be to screw into a piece fo wood behind the foam to get good pressure on the chain plate.


JOINING THE HULL TO DECK

We came across an issue when trying to attach the deck to the hull, as we couldn't attach the glass flange to the bulkhead in a suitable manner. So Chris and Rob came up with another solution.. to make a groove in the bulkheads top edge so that enough epoxy would fill it and bond to the inside deck. Also he was able to reach inside and cove one side of the B/H. Chris made a neat little tool for the job by bending a nail and flattening the end, making a little rotary chisel to gouge out the foam.


 A thick layer of WEST epoxy with 411 microsphere blend pasted onto the flange here will make a good bond. You can also see the B/H with a large bead of glue which replaces the glass flange which was destroyed in the post curing room. It warped out of shape and was unsuitable for attaching the deck. Once Chris and James got inside they found it made good contact so we were all happy.
Here's Chris Lovegrove cutting off the excess foam on the topside with the jigsaw on a beveled angle exact to the strake of the hull. To get it to fit nicely we removed a little more leaving a small 2mm gap which we filled with epoxy and later sanded. Chris L. made it clear that it was quite unprofessional to work the topsides in this manner, however it was our first time so it was all a learning curve, excuse the pun.

Wednesday, July 6, 2011

FAIRING THE HULL

Once we had glued the deck to the hull it was time to overturn the yacht and work on the hull first planing off the excess glue. Some of the strips were slightly proud of the rest so a little more planing was required to fair the hull.
After planing we all grabbed a longboard and sanded the entire hull feeling for incontinuity in fairness as we went. The technique for sanding is important. The longboard is held so that the sanding face makes good contact with the hull surface and sanding up and down against the contour. It is important to sand like this so we don't create eddies and undulations.


That's me on top chiseling a 4mm deep rebate around the centre-case and filling it to add strength around the edge and ensure no gaps or hollows exist. Then we saturated the hull in WEST Z105 epoxy before fibre-glassing with EDB400 matt.  

Tuesday, July 5, 2011

VACUUM BAGGING " STACKING" and EPOXY

During construction of the entire yacht four different epoxy blends were used:
1) WEST ( wood epoxy saturation technique) epoxy Z105 two parts mix, Part A the resin; Part B the catalyst at a ratio of 4:1. The pump we used squirts the correct ratio for us otherwise we use a scale to get the ratio correct.

2)ADR two part epoxy resin ( ADR and ADH). Requires post curing to achieve best hardness.The main hardener, ADH341, offers pot-lives up to 24 hours, working times of up to 72 hours and requires curing temperatures in excess of 50ยบ C under vacuum.

3)Various types of "thixatrope" were also used in different areas of the boat as I'll explain. To cove in joins on the inside we used an WEST epoxy blend with the thixatrope colloidal silica 411, a lightwight microsphere blend which makes a think white paste. It is easily workable when 200ml of 411 are mixed with 2 pumps of epoxy, making a viscosity like soft ice-cream.

4) The other thixatrope we used was gap filler microfibre blend 403 we used to fill holes and cove in joins.

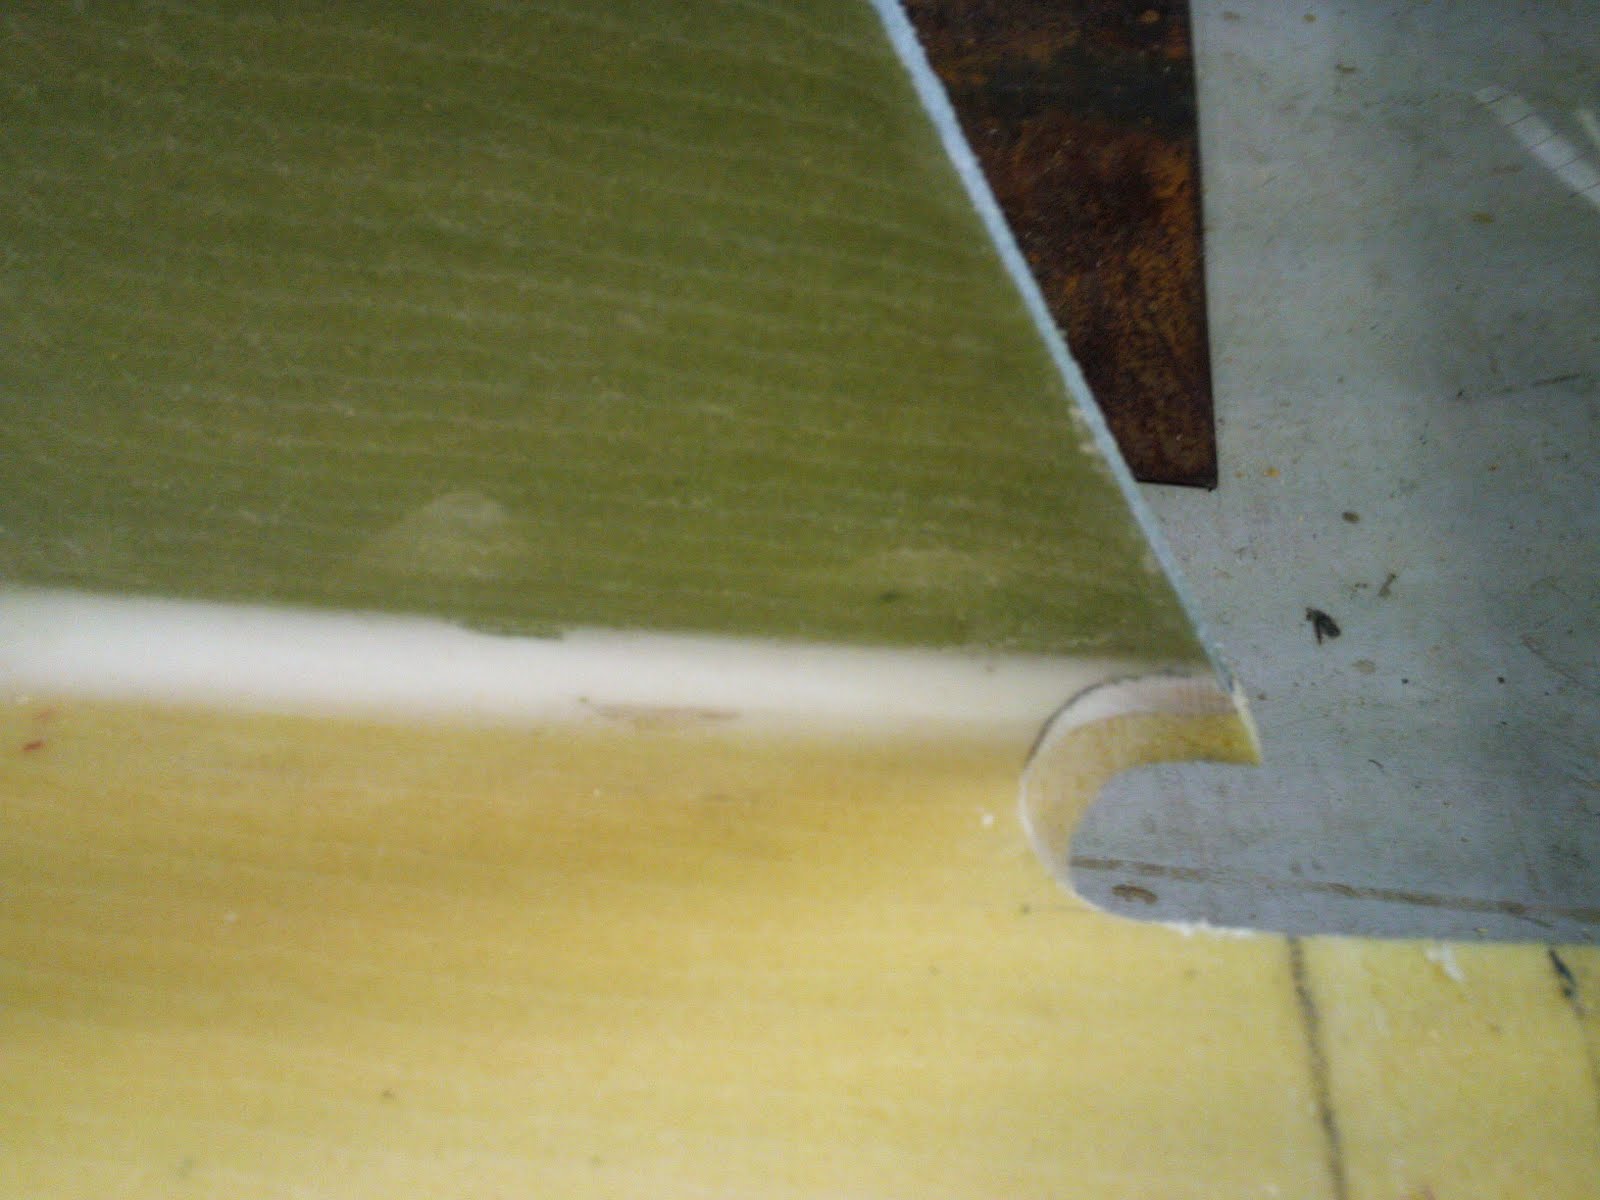
The mixture we used to bond the deck to the hull was a "Rubberised" epoxy. Two parts of HPR25a and HPR25b mixed together at a 4:1 ration making a strong structural adhesive.
For the deck and exterior of the yacht ADR epoxy was used. This range of resins and hardeners developed with unique chemistry makes them suitable for building  simple room temperature curing e glass structures along with  high temperature post cured carbon laminates.
With superior mechanical properties and wet-out characteristics, ADR resins and hardeners have become the preferred systems for large, high flow laminations requiring reliable cure and long working times. Designed largely for laminating only, ADR resins and hardeners produce stronger, stiffer and tougher laminates.
 Sealing bag to transom. Chris cut a slice off the transom to try make a seal since resin was poured all over the place and dripped down the transom and under the masking tape which was used to attempt to protect the perimeter where the vac tape needed to go. 

 Sealing "stack" to decks underside
 Pressure Gauge showing a 100% seal at -100kPa (1 atmosphere of pressure)
Air works the same way. The atmoshere is about 50 miles "deep," and at sea level it exerts 14.7 psi. That is, a 1-inch-square column of air 50 miles high weighs 14.7 pounds. Our bodies think 14.7 psi of air pressure is completely normal.
 Vacuum valve with four inlets, ones not used are clamped  shut.
 Foredeck underside being vacuum bagged.
See this video of a bagging complication. Holes are frequently a problem when trying to seal the bag.
http://youtu.be/LHtY3QTVMFg
EDB (double bias) 240g/m2 fibre-glass matt
 EDB (double bias) 400g/m2 fibre-glass woven matt
Chopped strand fibre-glass matt
Perforated plastic 
 Shade cloth mesh
Plastic sheet 4m wide
Roll of rubberized bitumen vacuum tape

LAMINTAING PREPARATION:

-Ensure the surface is dirt free and any holes filled.
-Sand a 50mm rebate where the F.G. cloth will overlap.
-Use masking tape around edges where the vac tape will go. It is essential this area is kept free of contaminates, e.g. resin, dust, material fibres. Masking tape also creates a visible boundary to work to.
-Pour 4-5 pumps of WEST Z105 Epoxy into clean container and stir for 1-2 minutes taking note of the time as the pot-life (working time) of the resin is limited to 1 hour. As the catalytic process is an exothermic chemical reaction we must be carefull not to make too much resin at one time, as this speeds the gell-time considerably.
-Now begin making the stack with the steps as followed...

The stack is layered as such:

1 )First the area to glass is saturated with resin with a paint roller
2) Let saturated area cure, then de-nib with 40 grit and etch the surface so next layers bond well.
3) The fibre-glass matt with centre marked on it laid from the middle out to prevent wrinkles in the cloth with spreaders and roller.
4) Then the cloth is wetted through from the middle outwards forcing the air and bubbles out to the edges.
5) Peel-ply laid on top of F.G. cloth in the same manner working wrinkles and air pockets outwards.
6) Perforated plastic covers the stack to aid in the separation of the mesh and the holes let excess resin through.
7) Shade cloth mesh covers the stack to soak up excess resin and allow air to flow out to vacuum pump.
8) Finally the plastic sheet covers the stack and sealed with bitumen vacuum tape around the perimeter of glassed area.


Flying Trimaran Article Review

l’Hydroptรจre

Article:
Last season the carbon trimaran broke two world speed records. l’Hydroptรจre broke a first record over 500 meters at an average speed of 44.81 knots. The second world sailing record was one over one nautical mile, this run made her the fastest craft in the one mile.
After this triumph, the team decided to temporarily set aside open sea trials in order to concentrate on breaking the mythical speed barrier of 50 knots. Thus, 2008 will be devoted to pure speed. l’Hydroptรจre is now specialized.
In order to accomplish this, studies and trials have been carried out by their team of engineers, in collaboration with the Ecole Polytechnique Fรฉdรฉrale de Lausanne. The rigging, the platform and the external parts have been finely modified to bring the boat’s speed potential over 50 knots.
The next few days will be devoted to a series of tests on the new rigging and sails, and on the new textile streamlining, which has recently been installed. L’Hydroptรจre will then be convoyed to Lorient, where she will be transported by cargo ship to the Mediterranean.
After a final phase of assembly in Marseille, l’Hydroptรจre will be able to tackle her goal for 2008 – to become the fastest sailing craft on the planet.

Review:
This is a truly beautiful and remarkable in its technology both in the design and in materials. The average speed alone of 44.81knots or 83 km's per hour is phenomenally fast gliding metres above the choppy surface of the water reducing the lag to next to nothing. The hydrofoil is super thin and joined to all keels of the yacht giving the shape added lateral resistance while not producing skin friction. And its wide platform provides excellent leverage to carry an oversize rig. Also note how fragile it appears, don't be fooled! carbon fibre and honeycomb kevlar is extremely strong for it weight. Gliding above the sea at 25.7 metres per second can cover 2220 km's/day, making a trip to Tahiti pleasure all the way!

More news and videos about Hydroptere and other fast sailboats:

Saving in Microsoft Word

Word processing programe
Steps on how to open Microsoft works word processor/save:

1. Click on "Start"
2. Click "All programs"
3. Open "Microsoft works word processor"


To save work:

1. Once finished with your work click on "file
2. Select "save as"
3. "Save in" where you would like to save your file.
4. Enter file name.
5. Then click on "save"

In edit HTML you can select colour and type "black" or "white" to change the text colour.

Tips to manage your files better


Use these tips to help with organizing your computer files.
  1. Use Documents. For many reasons, it's smart to take advantage of the Documents feature, which is called Documents. To open Documents click Start, and then click Documents to discover an easy way to store your personal documents.
    In the Documents feature is actually a virtual library. By default, the Documents library includes your My Documents or Documents folder and the Public Documents folder. You can customize the Documents library to group files and folders from any location on your computer—without actually moving them. Or you can build your own libraries to easily organize your files.
    Windows 7 libraries, with the Documents library selected

  2. Adopt consistent methods for file and folder naming. When learning how to manage files and folders, it is important that you develop a naming scheme for the kinds of files you create most often and then stick to it. To change an existing file or folder name, right-click the name in the folder structure. ClickRename, and then type the new name.
  3. Keep names short. Even though you can use long file names in Windows, you should not necessarily do so. Long file names can be harder to read.

    Folder structure in Windows 7, beginning with Documents
  4. Separate ongoing and completed work. To keep the Documents folder from becoming too unwieldy, use it only for files you're actively working on. As a result, you can reduce the number of files you need to search through and the amount of data you need to back up. Every month or so, move the files you're no longer working on to a different folder or location, such as a folder on your desktop, a special archive folder, a flash drive, an external hard disk drive, or even a CD.
  5. Store like with like. Restricting folders to a single document type makes it easier for you to find files. For example, with all of your graphics in a single folder—or in a single library—it's easy to use the slide show feature in Windows Explorer to find the right picture for your newsletter. You can also use libraries to group files together for easier searching without moving them into the same place.
  6. Avoid large folder structures. If you need to put so many subfolders in a folder that you can't see all of them at a glance, consider creating an alphabetic menu.

    Safety equipment

    Safety Glasses:

    Safety Glasses are the most important piece of safety equipment. There are many styles of safety glasses, but all share the same features, namely impact resistant lenses and side screens to protect against dust and debris created by power tools.

    Hearing Protection:

    When working with loud power tools and machinery such as routers, surface planers and joiners, it is wise to wear hearing protection. There are two common types: expandable ear plugs and ear muffs. Ear Muffs tend to provide slightly better protection, but can be very wieldy.
    Consistent use of hearing protection will help protect you from long-term hearing loss.

    Respirators and Face Masks:

    Sanders, routers and other power tools can generate a lot of dust. When using these tools, it is a good idea to wear a dust mask, to keep these fine particles from entering your lungs. When spraying varnish or paint, a respirator is a better choice, to protect you from any harmful effects of using these chemicals.

    Face Shield:

    When using a lathe, you'll likely generate a lot of flying chips. In addition to using your safety glasses, a clear full-face shield is a good idea. The shield is comfortable, can be flipped up when not needed, and will keep most of the flying chips away from your face.

    Proper clothing:

    When working with power tools, you should always wear proper clothing. As such, you should never wear loose fitting clothing. Comfortable, long-sleeved shirts and long pants combined with good steel-toed work shoes will each provide a layer of protection. However, loose articles of clothing can easily become entangled in a power tool, which can be very dangerous.

    Identifying significant hazards

    A significant hazard is a hazard that could cause:

    Serious harm (can be an illness or injury) including death, amputation, fractures or serious burns; or Harm that occurs when someone is repeatedly exposed to a hazard, or exposed to high-levels of a hazard, such as noise or chemical exposure; or Harm that isn't detectable until a long time after exposure.

    Proactively identifying significant hazards on a regular basis.

    Ways of identifying significant hazards includes thinking about hazards in particular work areas, specific tasks and processes, even before you start work. This process must be ongoing, as a change of any sort on your site can mean a new hazard is created.

    Compliances for working at heights and in confined spaces


    Compliance requirements when working at heights:

    • ensuring safe access and egress

    • installing guardrails around perimeters and penetrations

    • setting up fall protection barriers (such as safety mesh or edge
    protection)

    • considering the risks involved from overhead services such as power
    lines

    • considering the risks involved from objects falling from height

    • implementing a suitable means to prevent a fall.

    n made sure any walking or working surfaces are strong enough to support workers safely and that any unprotected edges have fall protection in
    place?

    n made sure emergency procedures are in place should an accident occure or anything go wrong on site?

    n made sure any necessary isolation procedures are in place (such as barricading and signage below the area of work to prevent workers or
    passers by from being harmed from tools or material which may be dislodged from above)?

    n provided anchorage points compatible with any fall arrest system (such as a
    safety harness) being used?


    Compliance requirements needed to work in confined spaces:


    SECURING A SAFE ATMOSPHERE:

    Employers should ensure that a competent person assesses the atmospheric contaminants before entry.


    RISK ASSESSMENT:

    The Standard emphasises that the employer must ensure that a risk assessment is under taken by a competent person before work begin.


    RESPIRATOR CHOICE:

    The responsible person controlling the operation should aim to achieve a safe atmosphere where respirators are not necessary.  If this is not practicable, an appropriate respirator should be considered.


    ATMOSPHERIC TESTING:

    The standard emphasises that before a person enters a confined space, testing is carried out to ensure that:

    (a) the confined space contains a safe level of oxygen;

    (b) atmospheric contaminants in the confined space are reduced to a safe level;

    (c) the confined space is free from extremes of temperature;

    (d) the concentration of flammable contaminant in the atmosphere is 0% of the Lower Explosive Limit (LEL) if hot work is to be carried out, or 10% if cold work is to be carried out.

    CV COVER LETTER

    Dear employer,

    I'm a graduate from Unitec having recently studied Boat Building in the Certificate in Applied Technology. 
    I have a passion for boat building and would love the opportunity to pursue my passion through your company. I have just completed a year of full-time training in boat building which covered all the basic skills and a lot more. I work well on my own and in team environments. I take great pride in my work and have a good eye to detail.

    After graduating from Unitec in the Bachelor Design majoring in sculpture I worked in various jobs including Insulclad (exterior plastering) and renovating property where skilled handy work was required. I love using tools and plan to continue advancing my knowledge in the boat building trade.


    Sincerely,
     Ben James

    Contact: 021537829
    email: bennifacta@gmail.com

    Monday, July 4, 2011

    REFLECTION ON CABIN TOP

    Constructing the Cabin Top was the same process as strip planking the hull. Each piece fashioned to fit over the stations and sit flat on the foredeck, the extra foam cut off neatly so the underside could be glassed.

    The cockpit sole itself had to be preglassed since the foam itself had holes all through it and each one of them filled. 
    Small nails were used here to attach the strips to the stations. This much was done in one day and all peices fixed in the next day. Taping them together made sure that the peices lay flush and no gaps appeared due to tension and warping. Each strip beveled slightly to fit snug together keeping the structure strong and minimal glue required.
    Once the foredeck and blister had been faired and all little holes and cracks filled, glassing commenced on the fore-deck to the bulkhead at station 7. Uni-directional carbon tape laid into a 50mm rebate and glassed on with ADR/ADH resin and hardener at a 4:1 ratio. 15mm glass plate at the top creates a strong shelf for the mast to stand on, and the carbon strips reach through the deck and transfer the forced to the hull mirrored as you see here. When the blister was being glassed I had to make a seal underneath since there was a hole where the tape went through as shown below.

    The underside of the deck and carbon uni, a mirror of the top.

    REFLECTION ON THE TRANSOM

    The Transom was my task to do. We had an option of making the transom on either the hull or the deck. Laying the deck onto the hull with transom attached sounded more difficult than making the transom a part of the deck instead, since a flange would be better made on the hull as opposed to a flange on the transom.
    Since the transom construction was not initially planned from the beginning we had to manipulate the last station, number 15, where the aft-most end is for the hull. We calculated how thick the fibreglass with resin on the 8mm foam to adjust the 15th frame for'ard that dimension. Then I checked the shape of the transom while the others made a pattern out of cardboard I made when making the transom flange on the hull. It was recycling but it was accurate enough to get a good shape, exactly the contour of the hull.
    There did pose one more problem however, as the transom attached almost reached the floor so the floorboards holding the stations to the concrete had to be cut back allowing the transom to fit the decks aft face. Another issue was that now station 15 had moved it no longer conformed to the correct shape and required some sanding to get it to fit correctly.

    The next stage of the transom construction was the addition of the glass plate, used for the rudder and tiller to attach. The bachelor students made the glass plate out of many layers of 400g/m2 double bias fibreglass matt, making an incredibly strong and workable material for areas where high load bearing metal plate and fastenings attach. Cutting the foam away from the layer of glass using router and hacksaw blade attached to a piece of wood made a whole perfectly thick enough for the glass plate, which goes through the deck and out the other side.


    A rebate of 40mm width was sanded at the edge of all the faces on the transom and sheer deckline where the fibreglass will overlap. Unfortunately resin was spilled all over the transom making it impossible for the vac tape to adhere to. Drastic measures were taken in attempting to create a seal, alas it never worked entirely. We tried to make a seal to station 15 and found air was coming through between the transom and the station! This took heaps of time trying to block this passage, it was a mess and I couldn't help thinking that (no-name) should have been careful pouring the resin over the transom, I was quite mad inside.
    For details on fibre-glassing the transom see "Vacuum bagging, stacking and epoxy" http://bennifacta.blogspot.com/2011/07/vacuum-bagging-stacking-and-epoxy.html

     The corners of the transom have a carbon fibre tube coved into topsides and transom flange as shown below.

    Coved in with peel-ply to keep it tidy. A neat trick to getting epoxy in corners to cove is the e-pastry bag, which is just that, a plastic bag with the corner snipped off and filled with epoxy filler. A nice bead of filler comes out the end resulting in a much tidier job.
    I cut this out using a holesaw or bore drill-bit. This is the inside of the deck's topside. I planned to have it neatly fit on top of the flange yet we found there was still some work to fair the topsides allowing the cockpit to sit exactly on the hull. We ended up with about a 2mm gap between however the flange was more than adequate to sit the cockpit on and it simply required filling with an ADR and 403 blend. It was nice to see the boat in one piece.